How to Deploy DataSunrise with Terraform Template on Azure
Previously we described how to configure DataSunrise on Microsoft Azure using Azure Resource Manager. As far as High Availability configuration requires accurate setting implementation with all the dependencies applied correctly, there is no doubt that templates are useful. Without them the product installation might take much more time by also including the maintenance of a reliable and stable solution to run the product environment. To avoid such inconveniences, DataSunrise provides a dedicated script for HA infrastructure deployment within the Microsoft Azure service based on a Terraform template. The deployment process is automated and does not require any additional manual adjustments.
The DataSunrise infrastructure includes:
- Custom Virtual Network where subnets are stored.
- DataSunrise autoscaling nodes (instances).
- Configuration and audit storage based on Azure Databases.
- Azure’s Load Balancer is used to distribute the traffic between living nodes.
- ScaleSet includes configuration of the failover cluster.
- Key Vault is used to store credentials for resources.
All these components are located inside a Custom Virtual Network with the specified subnet.
Preparing for Deployment of the Terraform Template
Some entities should exist in your Azure environment before the deployment process. Here is the list of required items:
- AZ CLI is installed.
- Downloaded/Installed Terraform CLI.
- Storage account with an accessible container with DataSunrise build inside or any place from where you can download the DataSunrise build.
Important:
Your Azure account subscription should be assigned to the Owner role to enable usage of the Managed Identity resource to connect to Azure CLI and to deploy required Azure resources for successful DataSunrise implementation. You can check it in Subscriptions -> <your-subscription> -> Access control -> Role assignments.
Deploying a Terraform Template
Register or select an existing app and provide “CLIENT_ID”, “CLIENT_SECRET”, “SUBSCRIPTION_ID”, “TENANT_ID”.
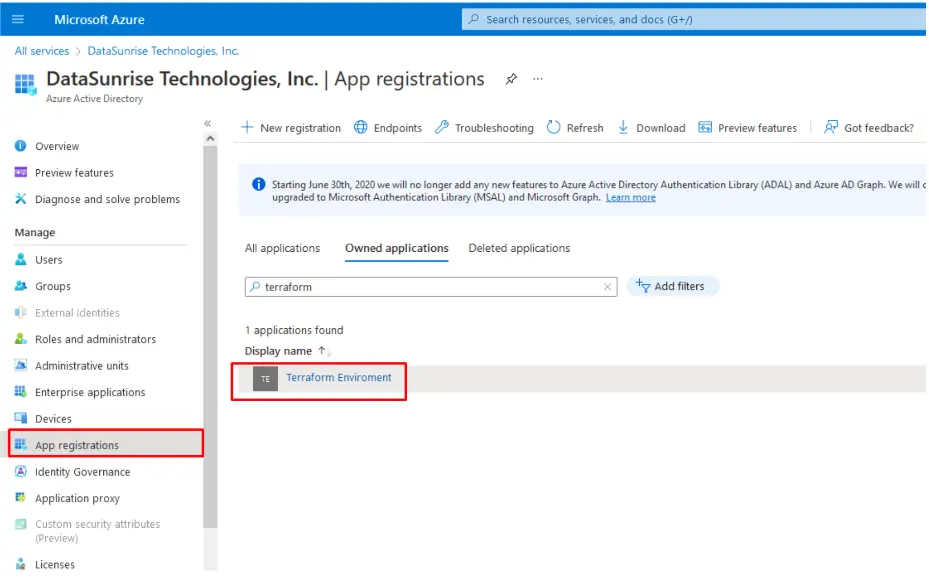

Terraform Script
Download Terraform script from the repository to deploy DataSunrise in a HA configuration. Open file terraform.tfvars and replace xxxxxxxxx there with values that correspond to your environment:
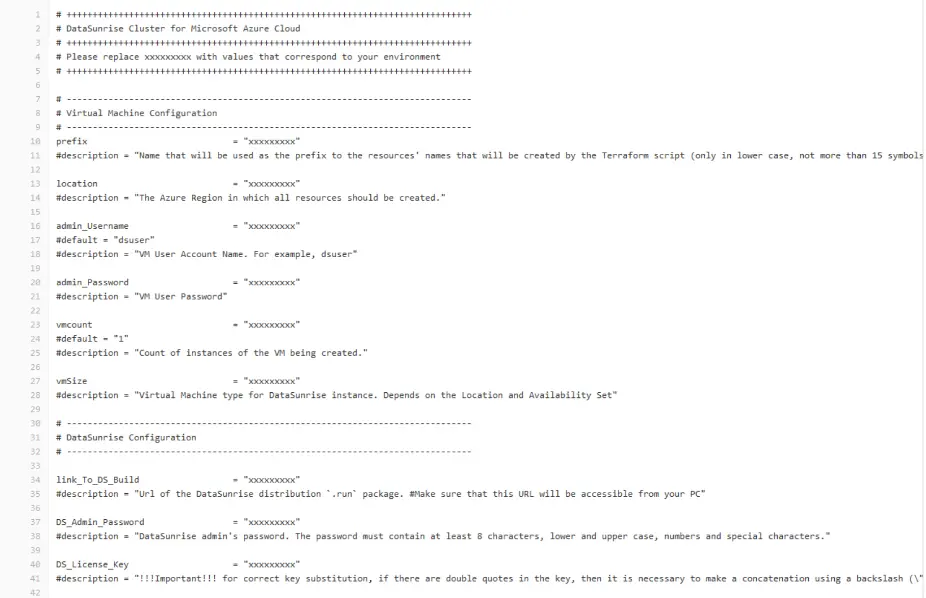
Open the console and set these environment variables:
Set   ARM_CLIENT_ID="SET-CLIENT-KEY-HERE"
Set   ARM_CLIENT_SECRET="SET-CLIENT-SECRET-HERE"
Set   ARM_SUBSCRIPTION_ID="SET-SUBSCRIPTION-ID-HERE"
Set   ARM_TENANT_ID="SET-TENANT-ID-HERE"
Important: on Windows, you need to copy the downloaded executable file, terraform.exe, to the scripts folder.
Terraform Commands
The terraform init command.
This command is used to initialize a working directory containing Terraform configuration files. This is the first command that should be run after setting up a new Terraform configuration or cloning an existing one from version control. It is safe to run this command multiple times.
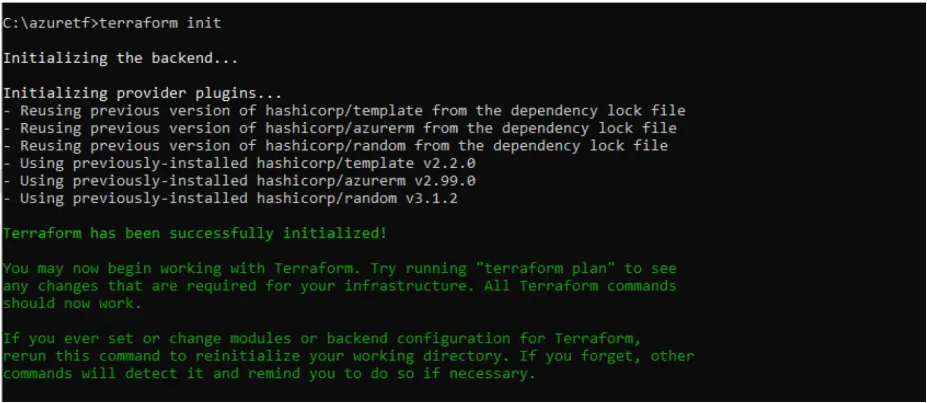
The terraform plan command.
This command creates an execution plan which lets you preview the changes that Terraform plans to make to your infrastructure. By default, when Terraform creates a plan it does the following:
- Reads the current state of any already-existing remote objects to make sure that the Terraform state is up-to-date.
- Compares the current configuration to the prior state and notes any differences.
- Proposes a set of change actions that should, if applied, make the remote objects match the configuration.
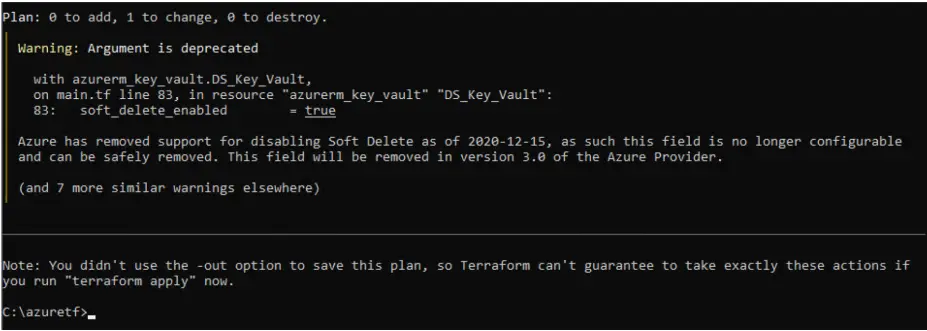
The terraform apply command.
This command executes the actions proposed in a Terraform plan.
The terraform destroy command.
This command destroys the created environment. Moreover, it is a convenient way to destroy all remote objects managed by a particular Terraform configuration. In addition, the terraform destroy command enables you to conveniently clean up all the temporary objects once you are finished with your work.
Finishing the Deployment
After executing terraform apply, the resource creation takes about 10-15 minutes, and further configuration and installation of additional libraries take about 15-20 minutes.
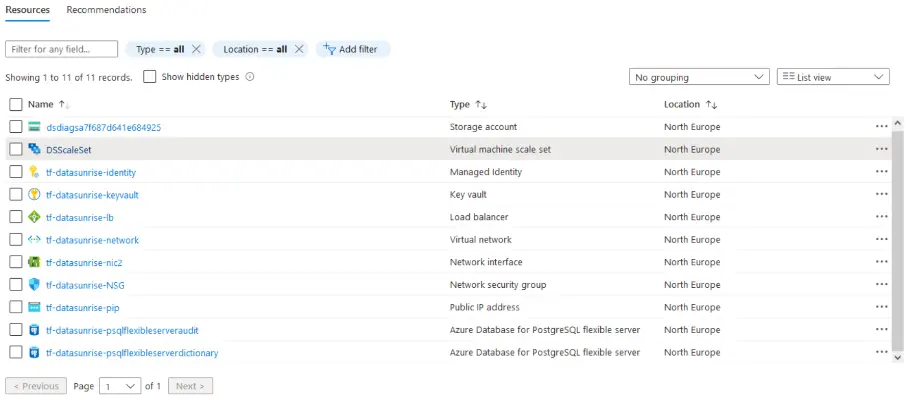
You can see all the created resources in the created resource group with the name that was set in the terraform.tfvars – prefix.
If all the resources are successfully deployed they will be listed inside the resource group:
Debugging
If your server is unavailable for a long time, you can connect to the created virtual machine via SSH using the username and password specified in the terraform.tfvars file. Having connected, run the command sudo cat /var/log/cloud-init-output.log and see the reason for the incorrect installation of the server.
Connecting to the DataSunrise Web UI
To connect to the DataSunrise’s Web Console, use the Load balancer public IP address. It will automatically connect to one of the configured nodes. You also need to use this IP address to connect to your target database through a proxy and to connect to your virtual machine using SSH.
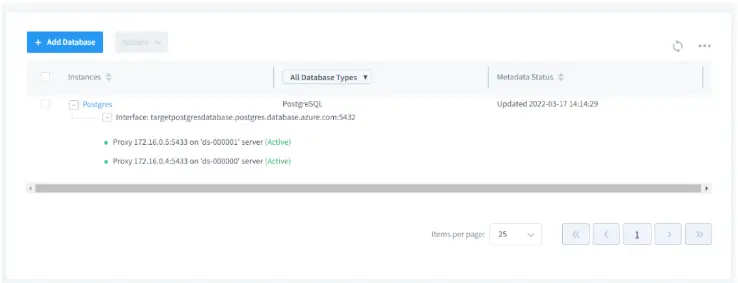
The Target DB will be automatically added to the DataSunrise’s settings:
