Creating DataSunrise Instance on Amazon AWS
Amazon Web Services (AWS) enable to deploy business applications to the cloud avoiding the time and expenses of building an in-house data center. The popularity of IaaS/PaaS environments grows each year and if you made a decision to transfer your data to cloud services then you need to think about its security as well. Because the cloud environment is as vulnerable as an on-premises data center.
DataSunrise Database Security provides comprehensive real-time protection for your cloud applications and data.
- Data Protection and Firewall. DataSunrise works as a proxy between users and a server protecting the integrity and confidentiality of your data both from internal and external threats
- DataSunrise performs continuous auditing of database activity that is useful when investigating data leaks
- Dynamic Data Masking
- 24/7 database activity monitoring
- Easy to deploy
- User-friendly interface
- Compliance with PCI-DSS, SOX, HIPAA
Creating DataSunrise virtual machine on Amazon AWS
1. Open AWS Marketplace web site: https://aws.amazon.com/marketplace.
2. Type “datasunrise” into the search bar and click “Go”.
3. Click the “DataSunrise Database & Data Security” link.

4. Select an appropriate region for the virtual machine (refer to Pricing Details) and click “Continue” button.

5. Configure instance settings:
- Select optimal size and other parameters of EC2 instance type according to your requirements. (Cost Estimator will display the price in accordance with the selected region and instance type).
- Follow the instructions in the ‘Security Group’ and ‘Key Pair’ subsections.
- Refer to AWS Customer Agreement, DataSunrise End User License Agreement.
- Click ‘Launch with 1-click’ button.
Starting to work with DataSunrise
1. After successful deployment, click “AWS Management Console” link 
2. Enter EC2 Dashboard and open “Instances” subsection. After selecting your instance copy the Public DNS or Public IP address.

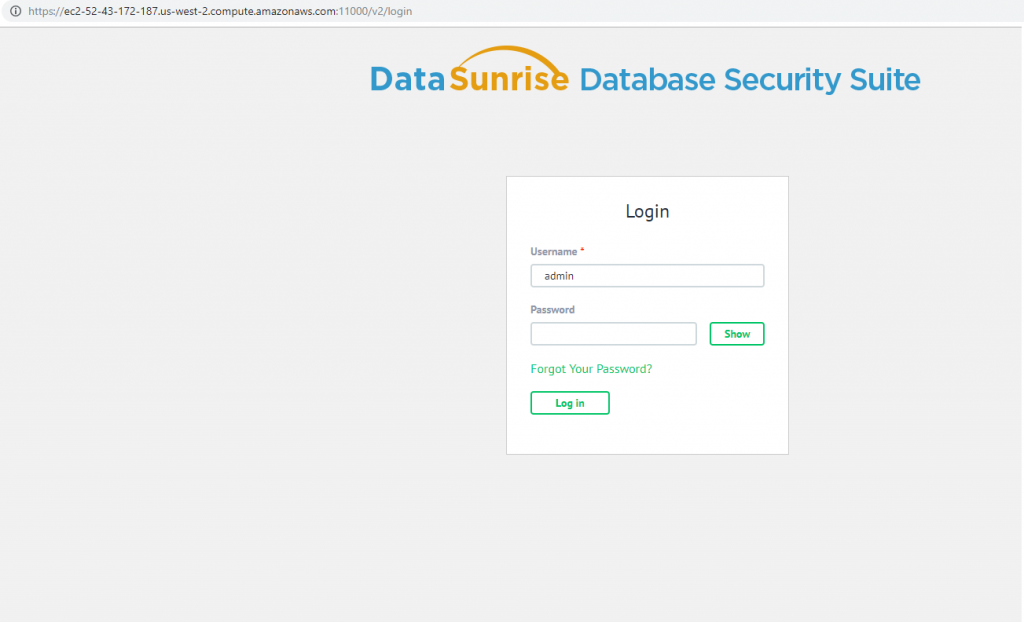
3. To enter DataSunrise Web Console, use your browser to access one of the following addresses: https://AWS_public_DNS:11000 or https://AWS_public_IP:11000 Use DNS or IP address of your instance from the previous step.
Note: You might not be able to access Web Console right after the instance is deployed. Wait for 5-10 minutes.
4. Use “admin” as a user name and your Instance ID as the password.

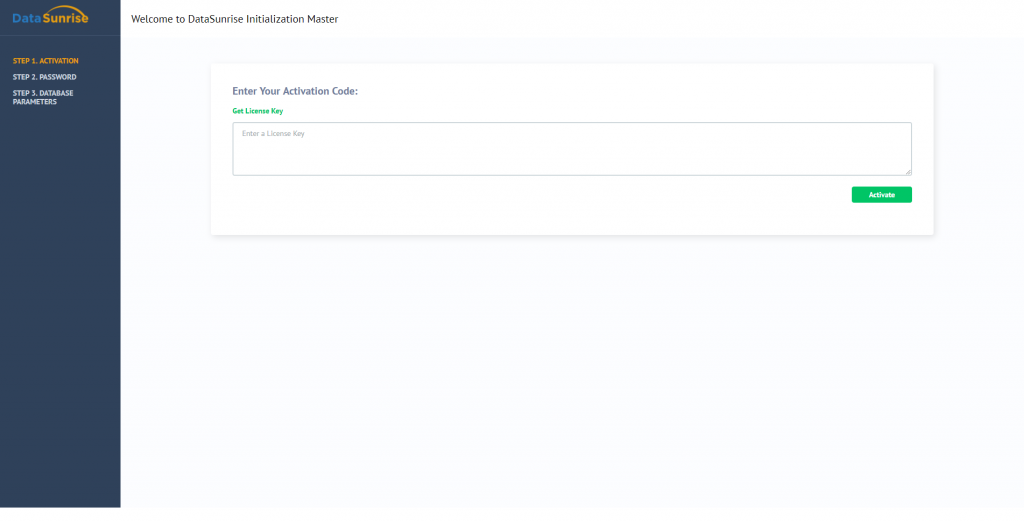
5. Further on, you need to enter your DataSunrise license key. In case you don’t have a license key, you can get one-month-free trial.
- To download the trial key, click the If you don’t have a license key, get a free trial, enter your credentials, choose your operating system and database type and click “Get Key”.

- A letter including a trial license key will be sent to the e-mail address you provided.
- Copy the license key and paste it to the corresponding field on the Web Console page requesting the license.
DataSunrise Database Security is now ready to protect your database. Refer to DataSunrise User Guide for further instructions.
DataSunrise supports all major databases and data warehouses such as Oracle, Exadata, IBM DB2, IBM Netezza, MySQL, MariaDB, Greenplum, Amazon Aurora, Amazon Redshift, Microsoft SQL Server, Azure SQL, Teradata and more. You are welcome to download a free trial if would like to install on your premises. In case you are a cloud user and run your database on Amazon AWS or Microsoft Azure you can get it from AWS market place or Azure market place.

